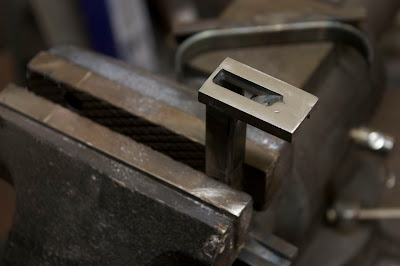
Last week I worked on the components for the roof. This picture shows the beginning of the cable guide that will get installed on the top of the ridge beam. I used a piece of 1/2" square tube which I cut then bent by heating it up with a torch to make a smooth path for the cable to slide on.
I finished it off by welding on a piece of 1/4" square stock on both sides of the slot.
Next I cut a mortice in the top of the ridge beam and installed the guide.
With the help of any free hand at the shop, we moved the panel into place and hooked everything up. Here it is all ready to go! The first trial ended prematurely when one of the guides on the winch started to bend. We stopped while I changed the mounting to fix the problem with the winch. The second time went better, but I did notice that little pieces of scalding metal were falling out of the winch onto my arm the whole way up. Thank you Harbor Freight Tools. I know better every time, but the store is just around the corner an everything is so cheap! The panel made it up with just slivers of metal left on the gears of the winch.
Once the panel was up, it was very easy to make the final adjustments with the winch and fix it down with a few timberlocks. The whole system was broken down within a few extra minutes.
An then of course more rain and snow were on the way so I had to put the tarp back on again. Before the other panels go up, I am going to make a few changes. I have already bought a new winch. This one seems to be much better quality and is battery powered. I want to make a few modifications to the track to make everything slide easier, and I will probably add some nylon slides to the panel also.
While I was working on this, Dave, the shop intern, cleaned and oiled the rafters. I never would have gotten around to that myself and am very appreciative of the help.


No comments:
Post a Comment